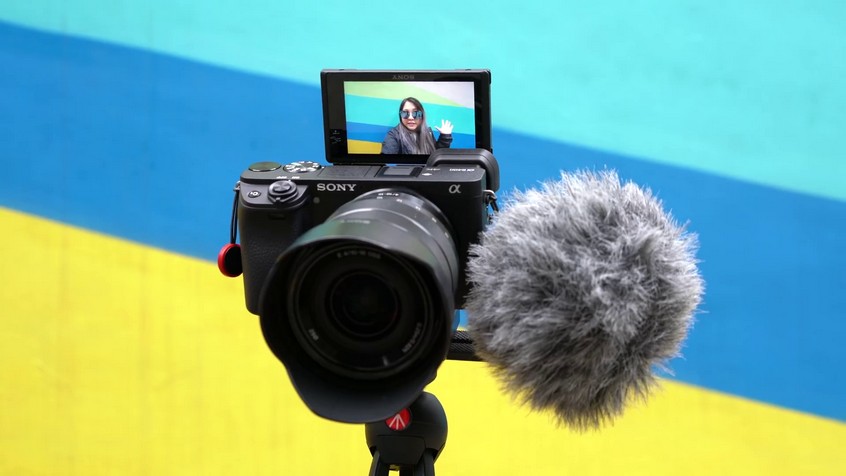
When filming outdoors, the presence of wind can cause unwanted interference with the microphone, leading to distorted and muffled sound..
This noise can overpower your audio, reducing the clarity and overall quality of your content. There are many simple and affordable methods you can use to effectively reduce wind noise when using a microphone with the Sony A7C. Let’s take a look.
What Causes Wind Noise When Recording Outside?
To put it simply, microphones and strong air movement don’t get along well. As the wind blows, it creates variations in air pressure around the microphone. These pressure changes affect the microphone’s diaphragm, causing vibrations. The diaphragm is designed to capture sound waves, but when it starts, it picks up those vibrations, which results in unwanted rumbling or gusting sounds in the recorded audio.
The design of the microphone itself can also contribute to wind noise. Some microphones have open or exposed elements that are more susceptible to capturing wind directly, while others are specifically designed with windshields or foam covers to minimize wind interference.
If your DSLR microphone is experiencing audio syncing issues, check out this article.
Ways to reduce wind noise when using a microphone with Sony A7C
To mitigate wind noise, various techniques and accessories can be utilized. Listed below are some of them.
Foam Windscreens
Foam windscreens are protective covers or sleeves of open-cell foam designed to fit over microphones. They serve two primary purposes:
Wind and Pop Noise Reduction
Foam windscreens act as a barrier between the microphone and the surrounding air. They help minimize the impact of wind gusts and plosive sounds (such as “p” and “b” sounds) that can cause distortion or unwanted noise in recordings. The foam material diffuses the airflow, reducing the intensity of these disruptive noises.

Protection from Dust and Moisture
Foam windscreens also protect microphones against dust, moisture, and other particles that could damage the microphone’s sensitive components. They act as a shield, preventing debris from entering the microphone and affecting its performance.
Foam windscreens are available in various sizes and shapes to accommodate different microphone models and types. They are generally lightweight, easy to slip on or off, and offer a cost-effective solution for improving the audio quality in different recording scenarios.
Blimps
The blimp mic is typically cylindrical or elongated, with a hollow interior that allows the microphone to be securely mounted inside. It features various mounting options, such as a suspension system or elastic bands, to hold the microphone in place while isolating vibrations.
The blimps mic often includes a furry windscreen or a foam wind cover surrounding the microphone capsule. This addition further helps to diffuse wind noise and minimize its impact on the microphone diaphragm.

Artificial Fur
Artificial fur wind covers, often referred to as furry windscreens or “dead cats,” consist of a layer of synthetic fur. They are designed to minimize the impact of wind on the microphone diaphragm, preventing unwanted noise caused by wind turbulence.
This type of covering is typically installed onto a ” zeppelin ” device and secured using a zipper, elastic band, or Velcro. To maintain its effectiveness, mic operators keep the individual fur strands untangled and in good condition. A plastic comb is provided specifically for brushing out the fur and eliminating any matting that may occur.
Artificial fur wind covers are particularly useful in outdoor recording situations, such as field interviews, film shoots, or capturing outdoor sound effects.

You Can Also Read: Using A High-Quality Boom Microphone With Sony A7C
Other Ways to Adapt Your Mic to Reduce Wind Noise
If you find yourself without artificial fur, blimps, or windscreens, there are still a few things you can try to minimize the impact of wind. Here are some alternative options:

Record in Sheltered Areas
Whenever possible, seek out locations with less wind. This could be indoors, in a vehicle, or behind a building or structure that provides natural wind protection.
Body Shielding
Shield the microphone with your body or use your hand to create a barrier between the microphone and the wind. Be careful not to obstruct the microphone or cause handling noise.
Positioning
Change the position of the microphone to minimize direct exposure to the wind. Place it behind a solid object, such as a wall or a tree, to create a natural barrier that blocks the wind.
Attenuate frequencies lower than 75 or 100Hz
Depending on the specific characteristics of your microphone, you might come across a handy feature known as a low-cut switch. This switch allows you to attenuate frequencies below 75 or 100Hz, effectively rolling off unwanted bass tones.
It’s important to note that different microphones offer varying options for this feature. While some may provide a basic on/off switch for the filter, others offer more advanced settings, such as a gentle or steeper bass roll-off in addition to the off position.
Another notable advantage of the low-cut function is its efficacy in addressing additional low-frequency disturbances. It can minimize unwanted noise, such as microphone handling noise and disruptive rumble caused by passing vehicles.

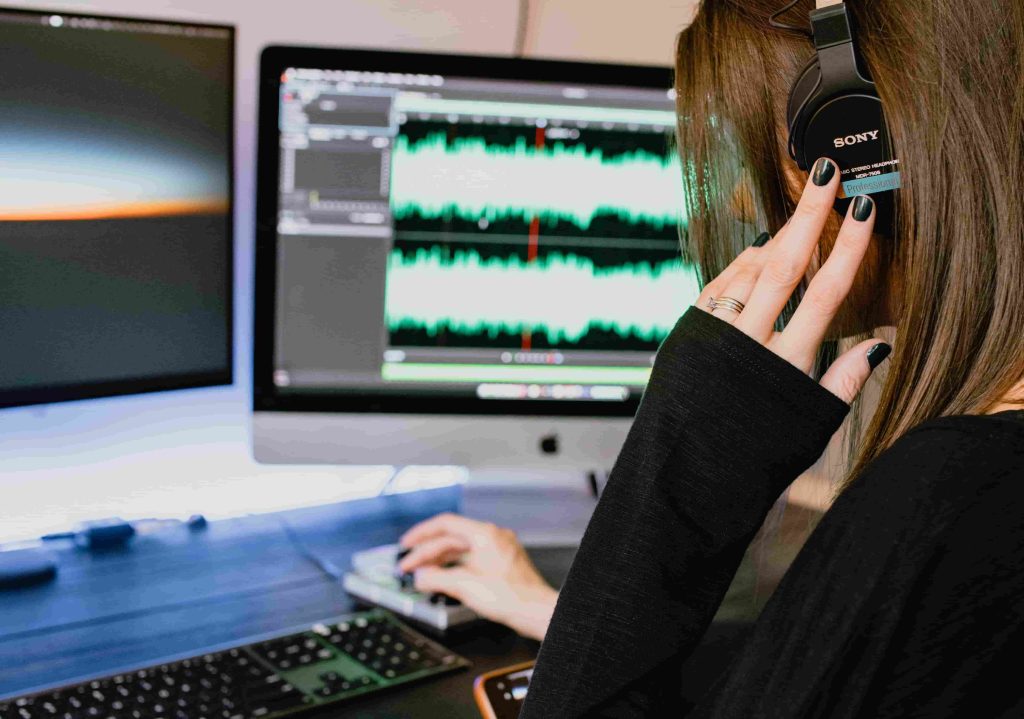
Post-production solutions
If your microphone lacks built-in low-cut circuitry, there’s no need to worry. During the post-production phase, you can achieve a similar effect by utilizing professional-grade video editing software or digital audio workstations (DAWs).
Once you import your audio, access your EQ tools and either manually attenuate frequencies within the 20Hz to 250Hz range or apply a high-pass filter or low-cut filter to manage wind noise.